Fire Alarm System Installation Checklist for Commercial & Educational Buildings
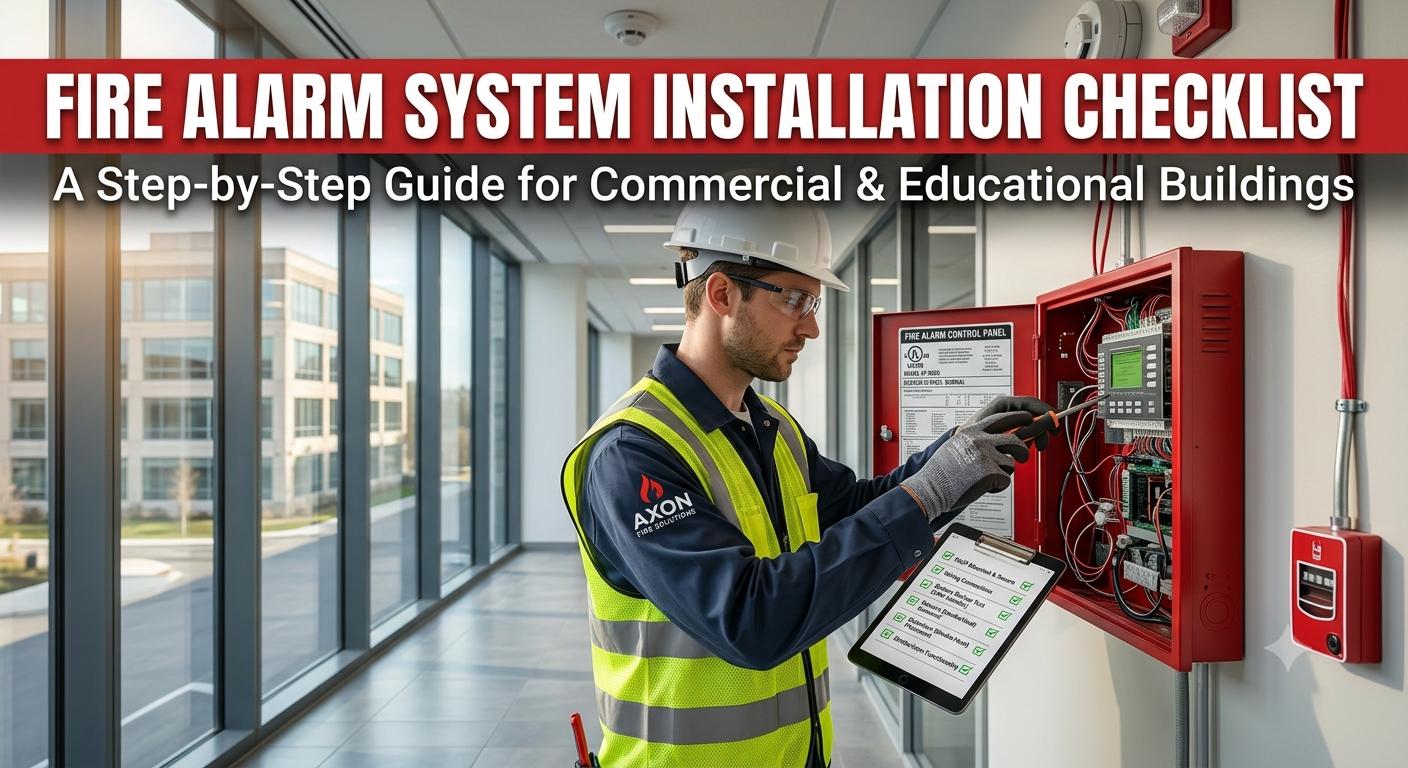
a professional installer working on an open red Fire Alarm Control Panel in an office building corridor, referencing a digital fire alarm system installation checklist on an iPad.

Whether you are retrofitting a university campus, setting up a new corporate headquarters, or managing an MEP installation team, missing a single step can lead to delayed occupancy permits, costly rework, or system failures during an emergency.

This step-by-step fire alarm system installation checklist breaks down the installation process phase by phase to keep your commercial or educational project compliant, on schedule, and fully operational.

Pre-Installation Planning & Code Compliance

The first phase of any fire alarm system installation checklist focuses on proper planning before pulling a single cable. 

  • [ ] Review Approved Architectural & System Drawings: Verify that device layouts match the stamped fire safety engineering plans.

  • [ ] Confirm Permits & Local Approvals: Secure all necessary municipal and local fire authority permits prior to site work.

  • [ ] Identify Building Environmental Conditions: Ensure specified smoke, heat, or duct detectors match ambient conditions (e.g., dust levels in vocational classrooms vs. clean air offices).

  • [ ] Conduct Cable Run Mapping: Plan conduit routes away from high-voltage power lines to prevent electromagnetic interference (EMI) with low-voltage signal loops.

  • [ ] Verify Component Compatibility: Ensure panels, notification appliances, initiating devices, and power supplies are listed for mutual compatibility.

Cable Infrastructure & Rough-In Inspection

A key item on your fire alarm system installation checklist is inspecting the cabling backbone, which dictates long-term panel stability. Poorly routed or unsecured wiring is a primary cause of ground faults and communication loop errors.
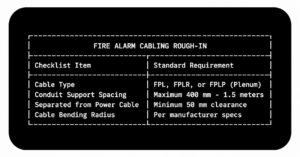
Fire alarm cabling rough-in checklist table outlining standard requirements for cable types, conduit support spacing, power separation, and bending radius.

  • Install Fire-Rated Conduit & Cables: Use fire-resistant, plenum-rated cabling (such as FPLP) wherever required by code.

  • Maintain Proper Conduit Support: Fasten conduit rigidly using appropriate saddles and anchors; ensure bending radius limits are strictly maintained to protect wire integrity.

  • Provide Separation from High Voltage: Ensure fire alarm low-voltage wiring maintains adequate distance from AC lighting and power circuits.

  • Label & Tag Cable Ends: Clear identification tags must be applied at every junction box, loop end, and main panel connection point.

  • Inspect Junction Boxes: Ensure metal boxes are grounded, clean, accessible, and equipped with rubber gaskets or proper cable entry glands.

Control Panel & Device Mounting

Device positioning forms the core of the fire alarm system installation checklist for high-density buildings like schools and office towers.

1. Fire Alarm Control Panel (FACP) & Annunciators

  • Mount FACP Securely: Position the main panel in an accessible, climate-controlled room with a minimum 3-foot clearance.

  • Install Dedicated AC Branch Circuit: Wire the panel to an unswitched, clearly marked 120/240V circuit breaker.

  • Connect Secondary Battery Backup: Verify standby batteries are load-tested and sized for at least 24 hours of standby plus 5 minutes of alarm mode (15 minutes for emergency voice systems).

  • Mount Remote Annunciator Panels: Position remote annunciator screens near primary building entrances for immediate firefighter access.

2. Initiating Devices (Detectors & Manual Stations)

  • Smoke & Heat Detector Spacing: Mount detectors on ceilings or high walls, avoiding corners (stay at least 4 inches from wall/ceiling intersections) and air supply vents.

  • Manual Pull Stations: Mount pull stations within 5 feet (1.5 meters) of every exit door at an ADA-compliant height (typically 42 to 48 inches from the finished floor).

  • Specialized School/Campus Needs: In educational environments, consider tamper-resistant protective covers on manual call points to reduce false alarms in corridors.

3. Notification Appliances (Horns, Strobes & Speakers)

  • Strobe Light Heights & Coverage: Mount visual strobes between 80 and 96 inches above the finished floor, ensuring lens visibility from any point in rooms and hallways.

  • Audible Sounder Decibel Levels: Ensure horn and voice notification speakers achieve at least 15 dBA above average ambient noise levels in commercial offices and auditoriums.

  • Voice Evacuation (EVACS) Integration: Verify clear voice intelligibility in large educational gathering spaces like gymnasiums and cafeterias.

System Integration & Third-Party Interlocks

A comprehensive  fire alarm system installation checklist must account for integration with HVAC, elevators, and access control infrastructure.

  • HVAC System & Duct Smoke Detectors: Verify that duct detectors automatically shut down air handlers and close smoke dampers upon activation to prevent smoke spread.

  • Access Control & Magnetic Door Releases: Confirm that all electromagnetically locked exit doors release instantly upon an alarm signal or power failure.

  • Elevator Recall & Hoistway Venting: Test automatic recall of elevator cars to the primary egress floor upon lobby smoke detector activation.

  • Fire Sprinkler System Integration: Connect flow switches, tamper switches, and pump run signals to the FACP for real-time supervisory alerts.

Commissioning, Testing & Handover

The final step in any commercial or educational fire alarm deployment is testing every single point and securing final approval from the local Authority Having Jurisdiction (AHJ).

  • 100% Point-to-Point Functional Test: Test every smoke detector, heat sensor, pull station, and notification device individually to confirm correct zone mapping on the FACP display.

  • Off-Site Monitoring Communication: Test digital alarm communicator transmitters (DACT) or IP/Cellular dialers to verify signal receipt at the central monitoring station.

  • Sound Level (dBA) Audit: Measure sound pressure levels in occupied zones to ensure alarms are audible throughout the facility.

  • Document As-Built Drawings & Logbooks: Store updated wiring schematics, device address maps, and maintenance logbooks inside or adjacent to the FACP cabinet.

  • Conduct Staff Training: Provide training to building facility engineers and school administrator teams on basic panel operation, silencing alarms, and resetting systems after a fire drill.

Key Differences: Commercial vs. Educational Facilities

While basic fire safety mechanics remain similar, the installation requirements differ slightly based on the building type:

Requirement FeatureCommercial Office BuildingsEducational Institutions (Schools/Unis)
Notification TypeStandard Horn/StrobesVoice Evacuation (EVACS) often mandatory
False Alarm ControlStandard Pull StationsStopper Covers & Time-Delay Verification
Zone DivisionBy Floor / Tenant UnitBy Wing, Floor, and Mass Assembly Areas
Integration NeedsAccess Control & ElevatorsPublic Address (PA) & Mass Notification

Streamlining Your Next Installation

Following a structured fire alarm system installation checklist mitigates project risk, ensures full compliance with life-safety codes, and simplifies final handover inspections. Whether managing a high-density office complex or a multi-building school district, methodical planning during every installation phase guarantees the system will perform reliably when it matters most.

Related Posts

Leave a Reply

Your email address will not be published. Required fields are marked *